Skip to product information
1 of 2

RedPrinting.com

Custom Postcards Printing – Full Color on Premium Glossy Paper

Custom Postcards Printing – Full Color on Premium Glossy Paper

Regular price $7.99
Regular price Sale price $7.99
Sale Sold out
View full details


Custom Postcards Printing
4×6 & 5×7 · Premium Cardstock

The Most Effective & Affordable Marketing Tool

Custom postcards are one of the most cost-effective ways to deliver your message directly to customers. Mail them, hand them out, or include them as inserts — custom postcards offer a tangible, personal touch that digital ads simply can't match. Available in 4"×6" and 5"×7" sizes on premium cardstock.

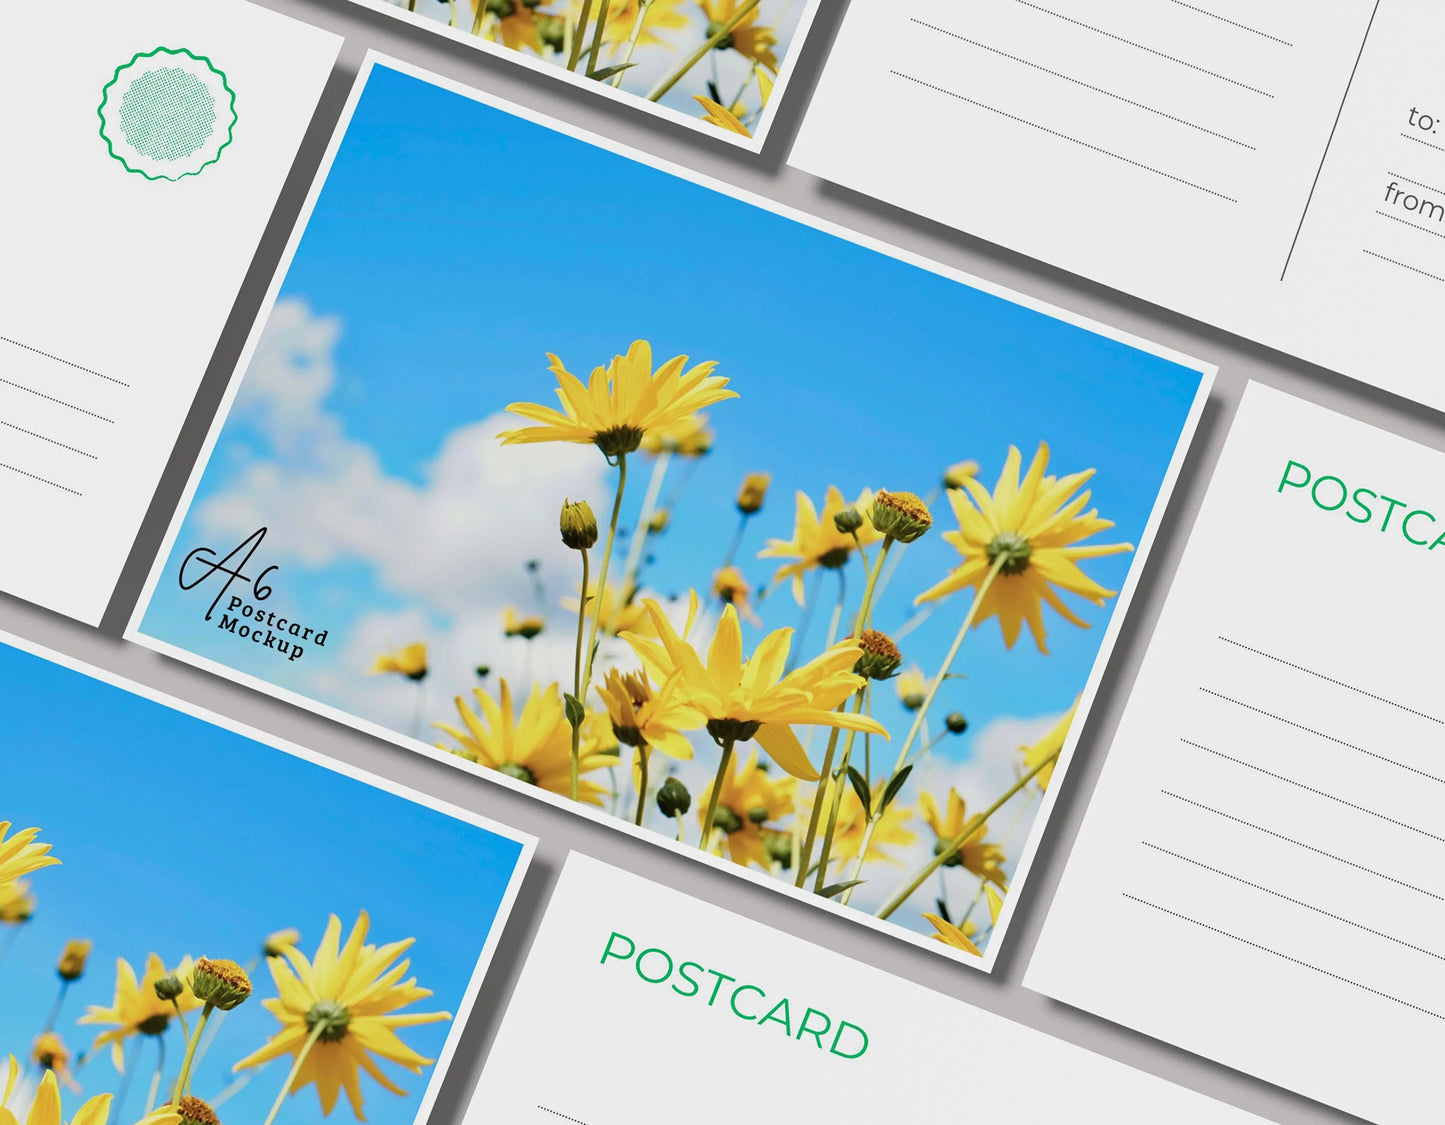
Custom Postcard Printing – 4x6 and 5x7, Premium Cardstock by RedPrinting
📮
4×6 & 5×7 Sizes
Standard Mailing Sizes
📦
14pt & 16pt Cardstock
Glossy / Matte / C1S
🔄
Double-Sided
Same Price as Single
🌿
No Coating Applied
Eco-Friendly Production


Why Choose Our Custom Postcards?

Premium postcard printing that connects your brand with customers.

01
The Most Cost-Effective Marketing Tool
Custom postcards are one of the most affordable and impactful ways to promote your business. Mail them directly to your audience, hand them out at events, place them on counters, or include them as inserts in every order you ship. No other print product delivers this level of versatility at this price point.
02
A Personal Touch That Digital Can't Match
Unlike digital ads that get scrolled past and forgotten, a physical postcard creates a tangible connection with your customer. People hold it, read it, and keep it — building stronger brand recognition and trust with every impression.
03
Premium Cardstock Options
Choose from four premium paper stocks to match your needs: 14pt Glossy for vibrant colors, 14pt Matte for a smooth, elegant feel, 16pt Glossy for extra thickness and durability, or 16pt C1S — a glossy front for vivid visuals with a writable matte back, perfect for mailing and handwritten notes.
04
Double-Sided at Single-Sided Price
Print one side or both sides — the price is the same. Use the front for your main message, promotion, or image, and the back for contact info, mailing address, terms, or a coupon. No extra charge for double-sided postcards.
05
Two Popular Sizes: 4×6 & 5×7
Both sizes are USPS-compatible standard mailing sizes. 4"×6" is the most popular choice for direct mail, promotions, and package inserts. 5"×7" gives you more room for detailed messaging, menus, invitations, and announcements.
06
Eco-Friendly — No Coating Applied
We do not apply additional coating to our postcards. Coating makes paper difficult to recycle and adds unnecessary environmental impact. Since postcards are rarely exposed to water, coating is often unnecessary. Our uncoated production delivers professional-quality results while being better for the environment.


Available Sizes

Two standard postcard sizes for every marketing need.

Standard
4" × 6"
Bleed: 4.15" × 6.15"
The most popular postcard size in the U.S. Compact and cost-effective — ideal for direct mail campaigns, promotional handouts, package inserts, coupon cards, and thank-you notes.
Large
5" × 7"
Bleed: 5.15" × 7.15"
More room for detailed messaging and larger visuals. Perfect for event invitations, announcements, product showcases, mini menus, and information cards that need extra space.


Cardstock Options

Four premium paper stocks to match your brand and purpose.

14pt Glossy
Glossy Both Sides
Vibrant colors and a smooth, shiny finish on both sides. The go-to choice for photo-heavy designs and bold promotional postcards.
Best for: Promotions, product photos, sale announcements
14pt Matte
Matte Both Sides
Smooth, non-glossy finish with a sophisticated feel. Easy to write on both sides — ideal for invitations and handwritten notes.
Best for: Invitations, thank-you cards, elegant branding
16pt Glossy
Extra Thick & Glossy
Our thickest glossy option. Premium weight with vivid color reproduction — feels substantial and high-end in hand.
Best for: Premium branding, VIP offers, luxury feel
16pt C1S ★
Glossy Front · Matte Back
The best of both worlds — glossy front for vivid visuals and a writable matte back for addresses, notes, and stamps. The #1 choice for mailable postcards.
Best for: Direct mail, USPS mailing, handwritten notes
🌿 Eco-Friendly Production
Our postcards are produced without additional coating. No UV coating, no aqueous coating — just clean, professional-quality printing that's easier to recycle and better for the environment. Beautiful results without the unnecessary waste.


File Setup Guide

Submit print-ready files for fast, accurate production.

Trim Sizes 4" × 6" or 5" × 7"
Document Size with Bleed 4.15" × 6.15" or 5.15" × 7.15" (tighter bleed = more usable space)
Cardstock 14pt Glossy, 14pt Matte, 16pt Glossy, 16pt C1S
Printing Single-sided or double-sided (same price)
Color Mode CMYK only
Resolution 300 DPI or higher
Fonts All fonts must be outlined before saving (including PDFs)
Effects & Transparency All transparency, shadows, and effects must be rasterized
Accepted Formats PDF, JPG, PNG, Adobe Illustrator (AI)
🎨 Print-Ready Files Only
Design services are not provided. Orders are printed only when fully print-ready files are submitted. Please ensure your file meets all specifications above before placing your order to avoid production delays.
📐 Our Bleed Is Tighter
Our bleed margins are tighter than many competitors, giving you more usable design space on your postcards. Less wasted area means your artwork prints closer to what you designed.


How It Works

From upload to delivery in 4 simple steps.

1
Choose Options
Select size, cardstock, quantity, and single or double-sided printing.
2
Upload Artwork
Submit your print-ready file: CMYK, 300 DPI, with bleed included.
3
We Print
Printed on premium cardstock. Quality checked before shipping.
4
Receive & Mail
Receive your custom postcards — ready to mail, hand out, or include as inserts.


Popular Uses for Custom Postcards

Versatile postcard printing for every industry and occasion.

📬 Direct Mail Campaigns 📣 Sale & Promotion Flyers 🏪 Store Opening Announcements 🎉 Event & Party Invitations 📦 Package Inserts & Thank-You Cards 🍽️ Restaurant & Cafe Menus 🏠 Real Estate Mailers 💈 Appointment Reminder Cards 🛒 Product Launch Announcements 📋 Instruction & Info Cards ⛪ Church & Nonprofit Outreach 🎁 Loyalty & Coupon Cards


At a Glance

Everything you need to know about custom postcard printing.

  • 4" × 6" and 5" × 7" Sizes – Two standard USPS-compatible mailing sizes
  • Premium Cardstock – 14pt Glossy, 14pt Matte, 16pt Glossy, and 16pt C1S options
  • 16pt C1S – Glossy front for vivid visuals + writable matte back for mailing and notes
  • Double-Sided at Single-Sided Price – Full-color printing on both sides at no extra cost
  • No Coating Applied – Eco-friendly production that's easier to recycle
  • High-Resolution Printing – Sharp text and vivid color reproduction on every postcard
  • Versatile Uses – Direct mail, handouts, package inserts, invitations, and more
  • Print-Ready Files Only – No design services; submit final artwork ready to print
💡 Pro Tip: Choose C1S for Mailing
If you're mailing your postcards, 16pt C1S is the ideal choice. The glossy front makes your visuals pop, while the matte back lets you write addresses, add stamps, and include USPS barcodes without smudging. It's the industry standard for mailable postcards.

Free Design Templates

Design Templates That Make
Every File Print-Ready

Download free design templates for all RedPrinting products. Each template includes the correct trim size, bleed, and safe margin, so your artwork prints exactly the way you designed it.

📐
Before you start: Download the template for your product and size, then set up your artwork following our Artwork Guidelines. Correct file setup means faster production and no delays.

Sticker Templates

Individually cut stickers in every shape and size, plus multi-design sticker sheets.

Round Stickers
Order Now
Download by Size
Square Stickers
Order Now
Download by Size
🔲Rounded Square Stickers
Order Now
Download by Size
Rectangle Stickers
Order Now
Download by Size
Rounded Rectangle Stickers
Order Now
Download by Size
Oval Stickers
Order Now
Download by Size
📄Sticker Sheets
Order Now

Business Card Templates

Standard, mini, and square formats for every card design.

💳Business Cards
Order Now

Flyer & Poster Templates

From handout flyers to large-format posters, print-ready at every size.

📰Flyers
Order Now
Download by Size
8.5" × 11" 5.5" × 8.5" 11" × 17"

Artwork Guidelines

Artwork Guidelines That Get
Every File Print-Ready

Every file submitted to RedPrinting is reviewed by a real person before it goes to press. This guide walks you through file formats, resolution, bleed, and cut lines — so your stickers, labels, and cards come out exactly the way you designed them.

👁️
Human File Review
Every Order, No Exceptions
🎁
Free Artwork Setup
Just Send Us an Image
🔍
300 DPI
Recommended Resolution
📐
0.075" Bleed
Tighter Than Industry Standard

Not a Designer? We'll Handle It

Free artwork setup is included with every order.

You don't need design software or print experience to order from us. Send us your image in any common format and our in-house design team will build the print file for you — adding bleed, positioning the cut line, and adjusting the resolution at no extra charge.

If your artwork needs a change we can't make on our own, we'll email you before printing. Nothing goes to press without your approval.

💡
Prefer to set up the file yourself? Start from one of our free product templates — trim, bleed, and safe area are already in place, so all you have to do is drop your design in.

The Three Lines on Every Template

Understand these and your file will cut clean every time.

Sticker artwork template showing bleed line, die line, and safe line
Bleed line (outermost), die line (the finished edge), and safe line (innermost).

Bleed Line — extend artwork to here
The outer boundary, 0.075 inch beyond the finished edge. Any background color, pattern, or image that should reach the edge of your sticker must extend all the way to this line. Bleed absorbs the small shift that happens during cutting, so no white slivers appear along the border. Most printers ask for a full 1/8 inch — our cutting tolerance is tight enough that 0.075 inch is all we need, which leaves you more usable design space.

Die Line — the finished edge
This is where the blade cuts. The die line defines the actual size and shape of your finished sticker. It's a guide only — never print the die line itself as part of your artwork.

Safe Line — keep text and logos inside
The inner boundary, 0.075 inch inside the finished edge. Anything you can't afford to lose — text, logos, QR codes, borders, contact details — belongs entirely inside this area. Elements placed too close to the die line risk being clipped.
⚠️
Watch out for thin borders. A frame or outline that hugs the die line will look uneven if the cut shifts even slightly. Either pull the border well inside the safe area, or let the design bleed off the edge entirely.
📏
Using a template from another printer? Files built with a larger 1/8 inch bleed work here without any changes — extra bleed is simply trimmed away. Just make sure nothing important sits outside the safe area.

Accepted File Formats

Vector files give the sharpest results, but we accept high-resolution raster files too.

Format Type Best For Recommended
AI Vector Logos, text, line art, custom shapes Best
PDF Vector Print-ready files with fonts outlined Best
EPS Vector Legacy vector artwork Best
PSD Raster Layered photo-based designs Good
PNG Raster Designs needing a transparent background Good
JPG Raster Photographs and full-color images Good
TIFF Raster High-quality scanned or photo artwork Good
Accepted artwork file formats for RedPrinting
  • Outline your fonts – Convert all text to outlines or curves so typefaces render correctly on our end.
  • Use CMYK color mode – Printing is a CMYK process. RGB files are converted automatically, and bright neon or vivid blues may shift slightly.
  • Flatten transparency – Complex transparency and drop shadows can behave unpredictably; flatten them before exporting.
  • Embed or attach linked images – Missing links are the most common reason a file gets sent back.

Image Resolution

300 DPI at final print size is the target.

Resolution is measured at the size the artwork will actually be printed. A 300 DPI image looks crisp on a 2-inch sticker but turns soft when stretched across a 24-inch poster. Always check the pixel dimensions against the finished size, not against how the file looks on screen.

Web images pulled from a website or social media are usually 72 DPI, which is roughly a quarter of the detail we need. Enlarging a low-resolution file doesn't add detail back — it only makes the softness more visible.

Low-quality artwork? Send it anyway. Our designers will do everything possible to bring it up to print standard, and we'll tell you honestly if a file won't hold up.

Comparison of image resolutions at 72 DPI and 300 DPI
The same artwork at low and high resolution.
🔎
Quick check: Multiply the finished size in inches by 300. A 3" × 2" sticker needs an image of roughly 900 × 600 pixels or larger.

Choosing Your Material

Where the sticker will live decides which stock to use.

💧 Vinyl Stickers
Built for the outdoors.
  • Waterproof and tear-resistant
  • Resists fading from sun and weather
  • Holds up on bottles, laptops, and cars
  • Higher cost per sticker
Choose vinyl if the sticker will face water, sunlight, handling, or outdoor conditions.
📦 Paper Stickers
The economical indoor choice.
  • Thin, smooth, and easy to write on
  • Noticeably lower cost per sticker
  • Ideal for packaging, boxes, and mailers
  • Not water- or weather-resistant
Choose paper if the sticker stays indoors — product labels, packaging seals, or promotional use.
🪟 Clear Stickers
Transparent vinyl that lets the surface show through.

Clear stickers are printed on transparent vinyl, so the surface underneath becomes part of the design. They're waterproof, tear-resistant, and work beautifully on glass bottles, cups, laptops, and windows where a white sticker edge would look out of place.

Because there's no white backing, light colors and white ink behave differently than they do on paper. Designs with bold shapes, dark colors, or deliberate negative space tend to read best.

🎯
Still deciding? Think about where the sticker ends up. Anything that gets wet, handled often, or lives outside should be vinyl. Everything else can be paper.

Setting Up Sticker Sheets

Multiple designs and sizes on a single sheet.

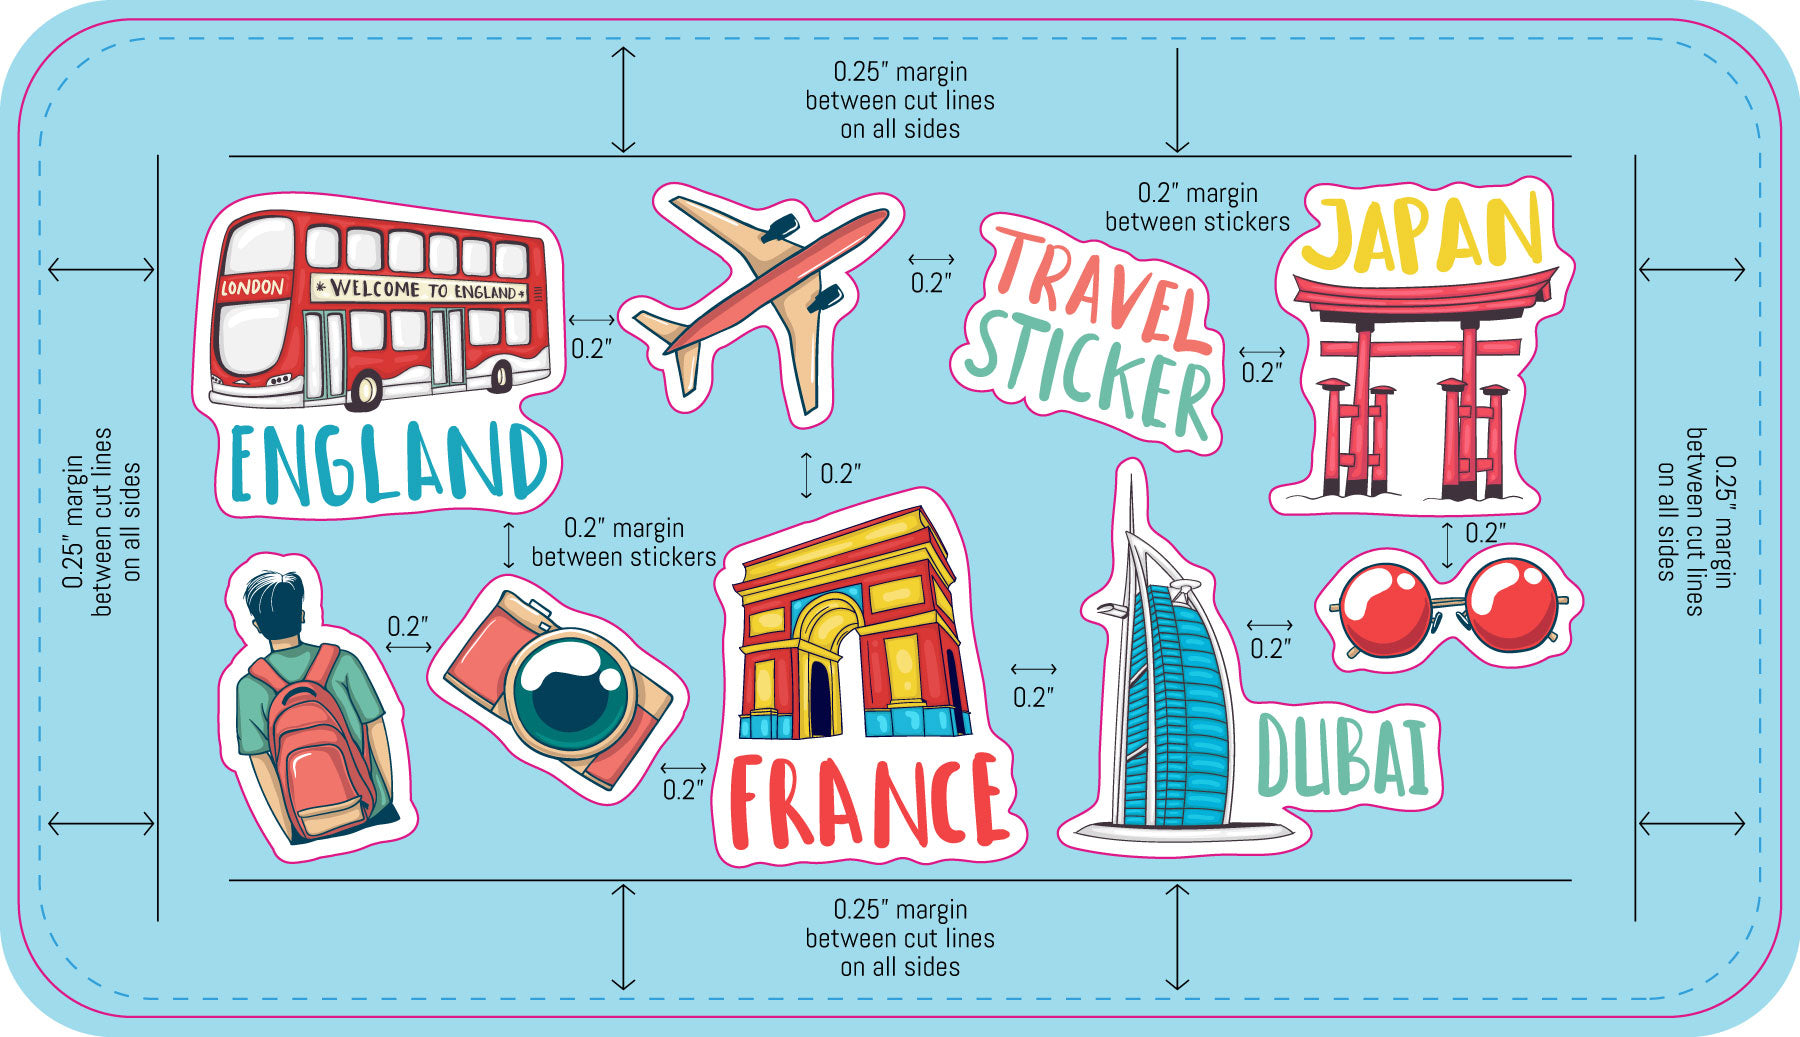
Sticker sheets let you print several different designs together on one backing sheet. Our sheet templates come pre-populated with placeholder artwork that you replace with your own files.
01
Create each design as its own file
Build every individual sticker separately and save each one as a PDF. Each file should already include its own bleed and safe area.
02
Open the sticker sheet template
Download the sheet template that matches your ordered size and open it in Illustrator.
03
Choose Replace at the prompt
A dialog will appear asking whether to Ignore, Replace, or Cancel. Check "Apply to all," then click Replace.
04
Select your PDF artwork
Point the dialog to your individual sticker PDF. The placeholder is swapped out and your design fills the position on the sheet.
05
Review and save
Confirm each design sits inside its own cut line with nothing overlapping, then save the finished sheet as a PDF and upload it with your order.
Sticker sheet artwork setup guideline

Common Mistakes to Avoid

The issues that most often send a file back for revision.

  • No bleed on the background – Artwork that stops at the die line leaves white edges when the cut shifts. Extend it a full 0.075 inch past the finished edge.
  • Text too close to the edge – Anything outside the safe area can be trimmed off. Pull text and logos at least 0.075 inch inside the die line.
  • Low-resolution images – Artwork saved from a website prints soft and pixelated. Work from the original high-resolution file whenever possible.
  • Live fonts not outlined – Fonts we don't have installed get substituted. Convert all type to outlines before exporting.
  • RGB color mode – Vivid RGB colors can't always be matched in CMYK. Design in CMYK to see accurate colors from the start.
  • Die line left in the artwork – The cut line is a guide, not a design element. Remove it or keep it on its own separate layer.
  • Wrong template size – Make sure the template you downloaded matches the size you actually ordered.

From File to Finished Print

What happens after you place your order.

1
Upload
Send your artwork with your order.
2
We Review
A designer checks size, bleed, and resolution.
3
Free Setup
We prepare the print file at no charge.
4
You Approve
We email you if anything needs a change.
5
We Print
Your order goes to press and ships out.
Ready to Set Up Your File?
Start from a free template with bleed and safe area already in place.